Introduction
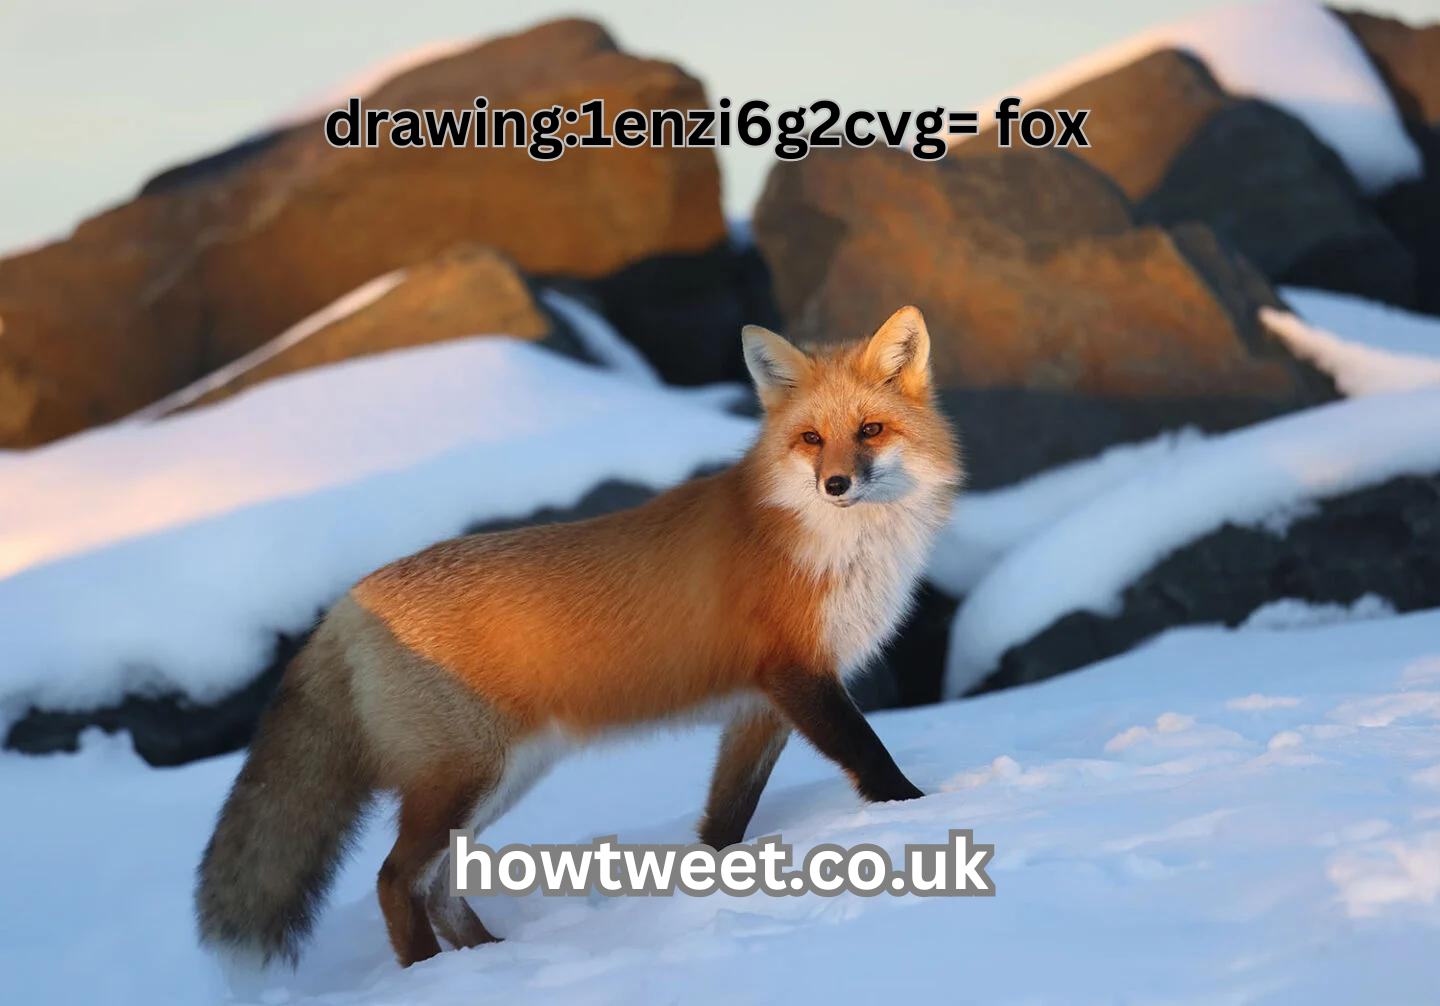
Drawing is a wonderful way to express creativity and capture the beauty of the natural world. Among the many subjects you can choose to draw, drawing:1enzi6g2cvg= fox stands out due to its sleek form and captivating presence. Whether you’re a beginner or an experienced artist, drawing a fox can be both challenging and rewarding. This guide will walk you through the steps to create a detailed and realistic drawing of a fox.
Materials Needed
Before you begin, it’s essential to gather all the necessary materials. Having the right tools can make a significant difference in your drawing process.
Basic Drawing Supplies
- Pencils (HB, 2B, 4B, 6B)
- Erasers (kneaded and standard)
- Sharpener
- Drawing paper or sketchbook
Optional Tools for Enhancement
- Colored pencils or markers
- Blending stumps
- Fine liners for inking
- Ruler for accurate measurements
Understanding Fox Anatomy
To draw a realistic fox, you need to understand its anatomy. This knowledge will help you capture its unique features accurately.
General Body Structure
Foxes have a slender, elongated body with a bushy tail. Their legs are relatively short, and they have a graceful, almost cat-like movement.
Unique Features
Key features include their pointed ears, sharp eyes, and distinctive snout. The fur is thick, especially around the neck and tail, giving them a fluffy appearance.
Starting with Basic Shapes
Begin your drawing by sketching simple shapes. This method helps in getting the proportions right before diving into the details.
Sketching Simple Shapes
Draw basic shapes like circles and ovals to represent the head, body, and joints. Use light lines so you can easily erase and adjust as needed.
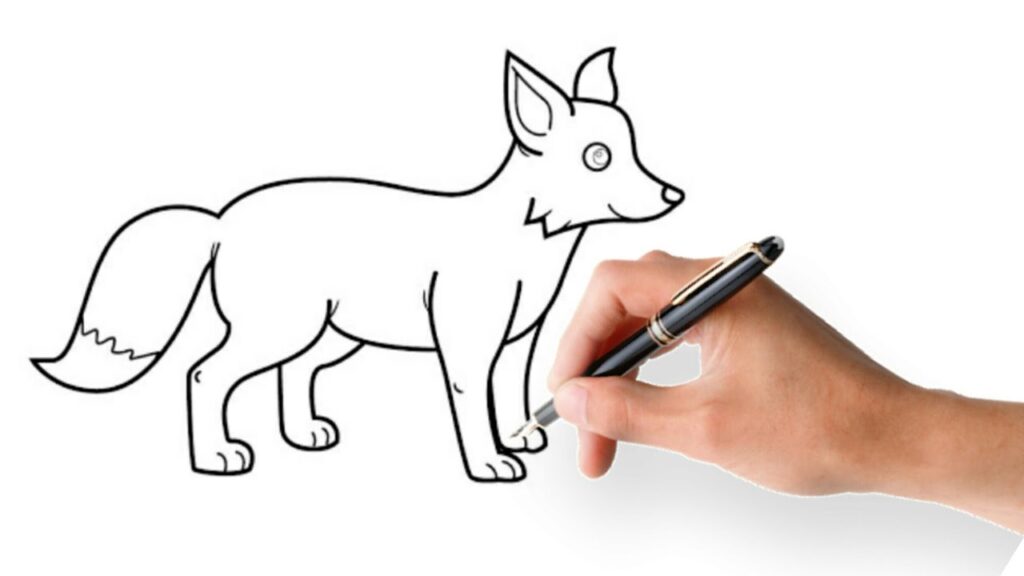
Positioning and Proportion
Ensure the head is proportionate to the body. The size of the circles should reflect the actual size of these parts in a real fox.
Drawing the Fox’s Head
Now, let’s focus on the head, the most expressive part of the fox.
Shape and Size
Start with an oval for the head. Add a smaller circle where the snout will be. Connect these shapes with smooth lines to form the outline of the head.
Details of the Face
Add the eyes, ears, and snout within the outline. Pay attention to the placement and size to maintain the fox’s characteristic look.
Focusing on the Eyes
The eyes are crucial for bringing your fox to life.
Capturing Expression
Foxes have sharp, intelligent eyes. Capture this by drawing slightly slanted, almond-shaped eyes.
Techniques for Realism
Use shading to add depth and realism. Highlight the catchlight to make the eyes look lively.
Outlining the Ears
Ears are a prominent feature and need to be drawn accurately.
Correct Placement
Place the ears symmetrically on top of the head. They should be pointed and relatively large compared to the head.
Adding Texture
Add fur texture within the ears using short, quick strokes. This gives them a more natural look.
Crafting the Snout and Mouth
The snout and mouth define the fox’s facial structure.
Basic Outline
Draw the snout as a tapered extension from the head. Add a small, rounded nose at the tip.
Adding Details
Detail the mouth with a slight curve to give a hint of a smile, enhancing the fox’s playful expression.
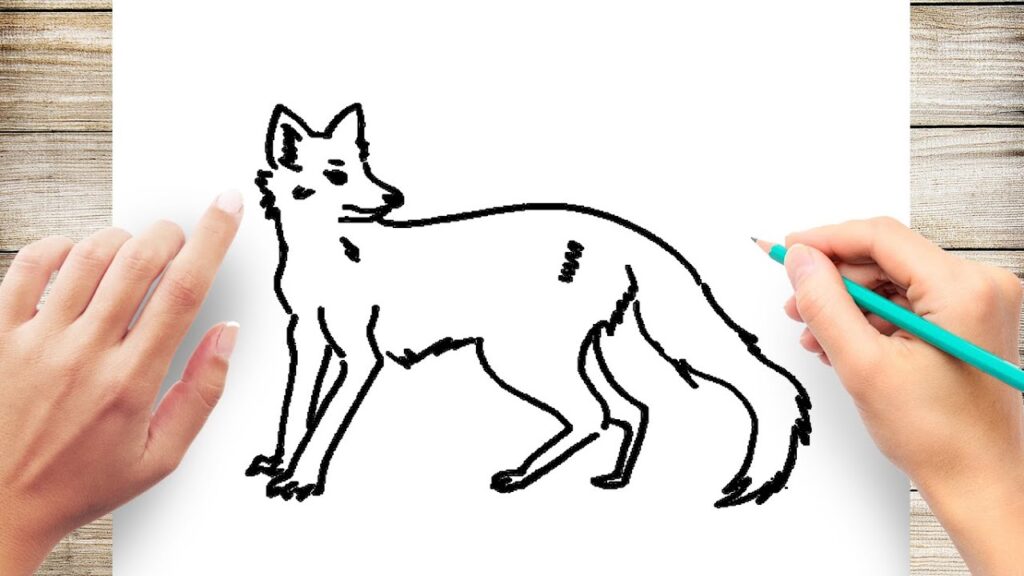
Developing the Body
With the head complete, shift focus to the body.

Main Structure
Using the initial shapes as a guide, outline the fox’s body. Make sure the lines flow smoothly, capturing the animal’s sleek form.
Proportions and Position
Ensure the body is proportionate to the head. The neck should be relatively short, leading into a long, slender torso.
Drawing the Legs and Paws
Legs and paws add to the realism of your fox drawing.
Front Legs
Draw the front legs extending down from the body. They should be slim but muscular.
Hind Legs
Hind legs should be slightly bent, indicating readiness to move. Add paws with individual toes for detail.
Designing the Tail
The tail is one of the most distinctive features of a fox.
Shape and Flow
Draw the tail as a bushy extension from the body. It should flow naturally and curve slightly.
Adding Fur Texture
Use quick, jagged strokes to add fur texture. The tail should look fluffy and voluminous.
Adding Fur and Texture
To make your fox look more realistic, add fur and texture.
Techniques for Realistic Fur
Vary your pencil strokes to mimic the natural direction of fur. Use shorter strokes for denser areas and longer strokes for smoother areas.
Shading and Detailing
Add shading to give depth. Pay attention to light sources and shadows to make the fur look three-dimensional.
Creating the Background
A background can enhance your drawing and set the scene.
Simple vs. Detailed Backgrounds
Decide whether you want a simple or detailed background. A forest scene can add context, while a plain background keeps the focus on the fox.
Enhancing the Scene
Add elements like grass, trees, or rocks to create a natural habitat. Use light shading to suggest distance and depth.
Inking and Outlining
Inking can add definition and make your drawing stand out.
Using Ink for Definition
Carefully go over your pencil lines with a fine liner. This will define the edges and make the drawing pop.
Cleaning Up the Sketch
Erase any remaining pencil lines once the ink is dry. This will leave you with a clean, professional-looking outline.
Final Touches
The last step is to add color and final adjustments.
Adding Color
Use colored pencils or markers to bring your fox to life. Start with lighter colors and build up to darker shades.
Final Adjustments
Make any final adjustments to improve the overall look. Add highlights and extra details as needed.
Conclusion
drawing:1enzi6g2cvg= fox can be a fulfilling artistic endeavor. By following these steps, you can create a detailed and realistic representation of this beautiful animal. Remember, practice makes perfect, so keep refining your skills and experimenting with different techniques.
FAQs
- What are the best pencils for drawing a fox?
- Use a range of pencils from HB to 6B for different levels of shading and detail.
- How can I make my fox drawing more realistic?
- Focus on capturing the texture of the fur and the expression in the eyes.
- What if I make a mistake?
- Use a kneaded eraser to correct mistakes without damaging your paper.
- Should I add a background to my fox drawing?
- Adding a background can enhance the scene, but it’s optional. A simple background can keep the focus on the fox.
- How long does it take to draw a fox?
- It varies depending on your skill level and the amount of detail. Typically, it can take several hours to complete a detailed drawing.